

Important: first try some tests without cache plugin if you are using only our required plugins probably you will not need any cache plugins, it is recommended to install Autoptimize if you are using multiple plugins, and they are not optimized and minified.
Note: W3 total cache is recommended for really large websites (lots of post/pages and plugins) but you may not get the best results.
Installing Autoptimize (minify and reduce page weight): #
- Go to plugins sections
- Click Add new
- Search for “Autoptimize” and install it
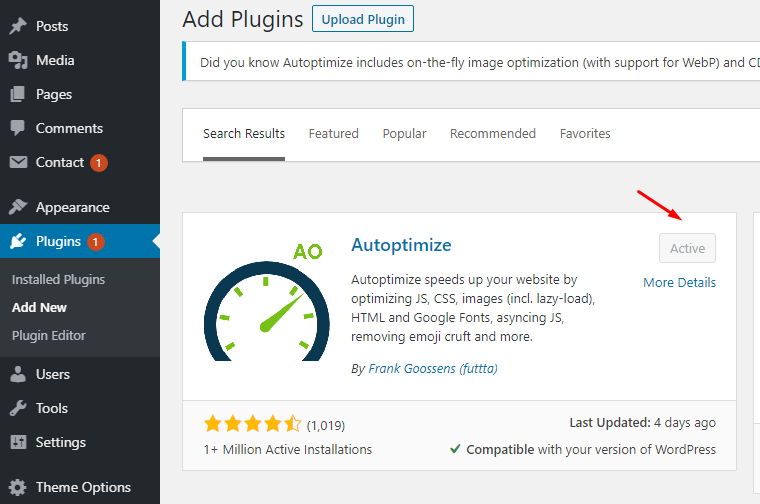
- Go to Settings ⇒ Autoptimize and use the next config
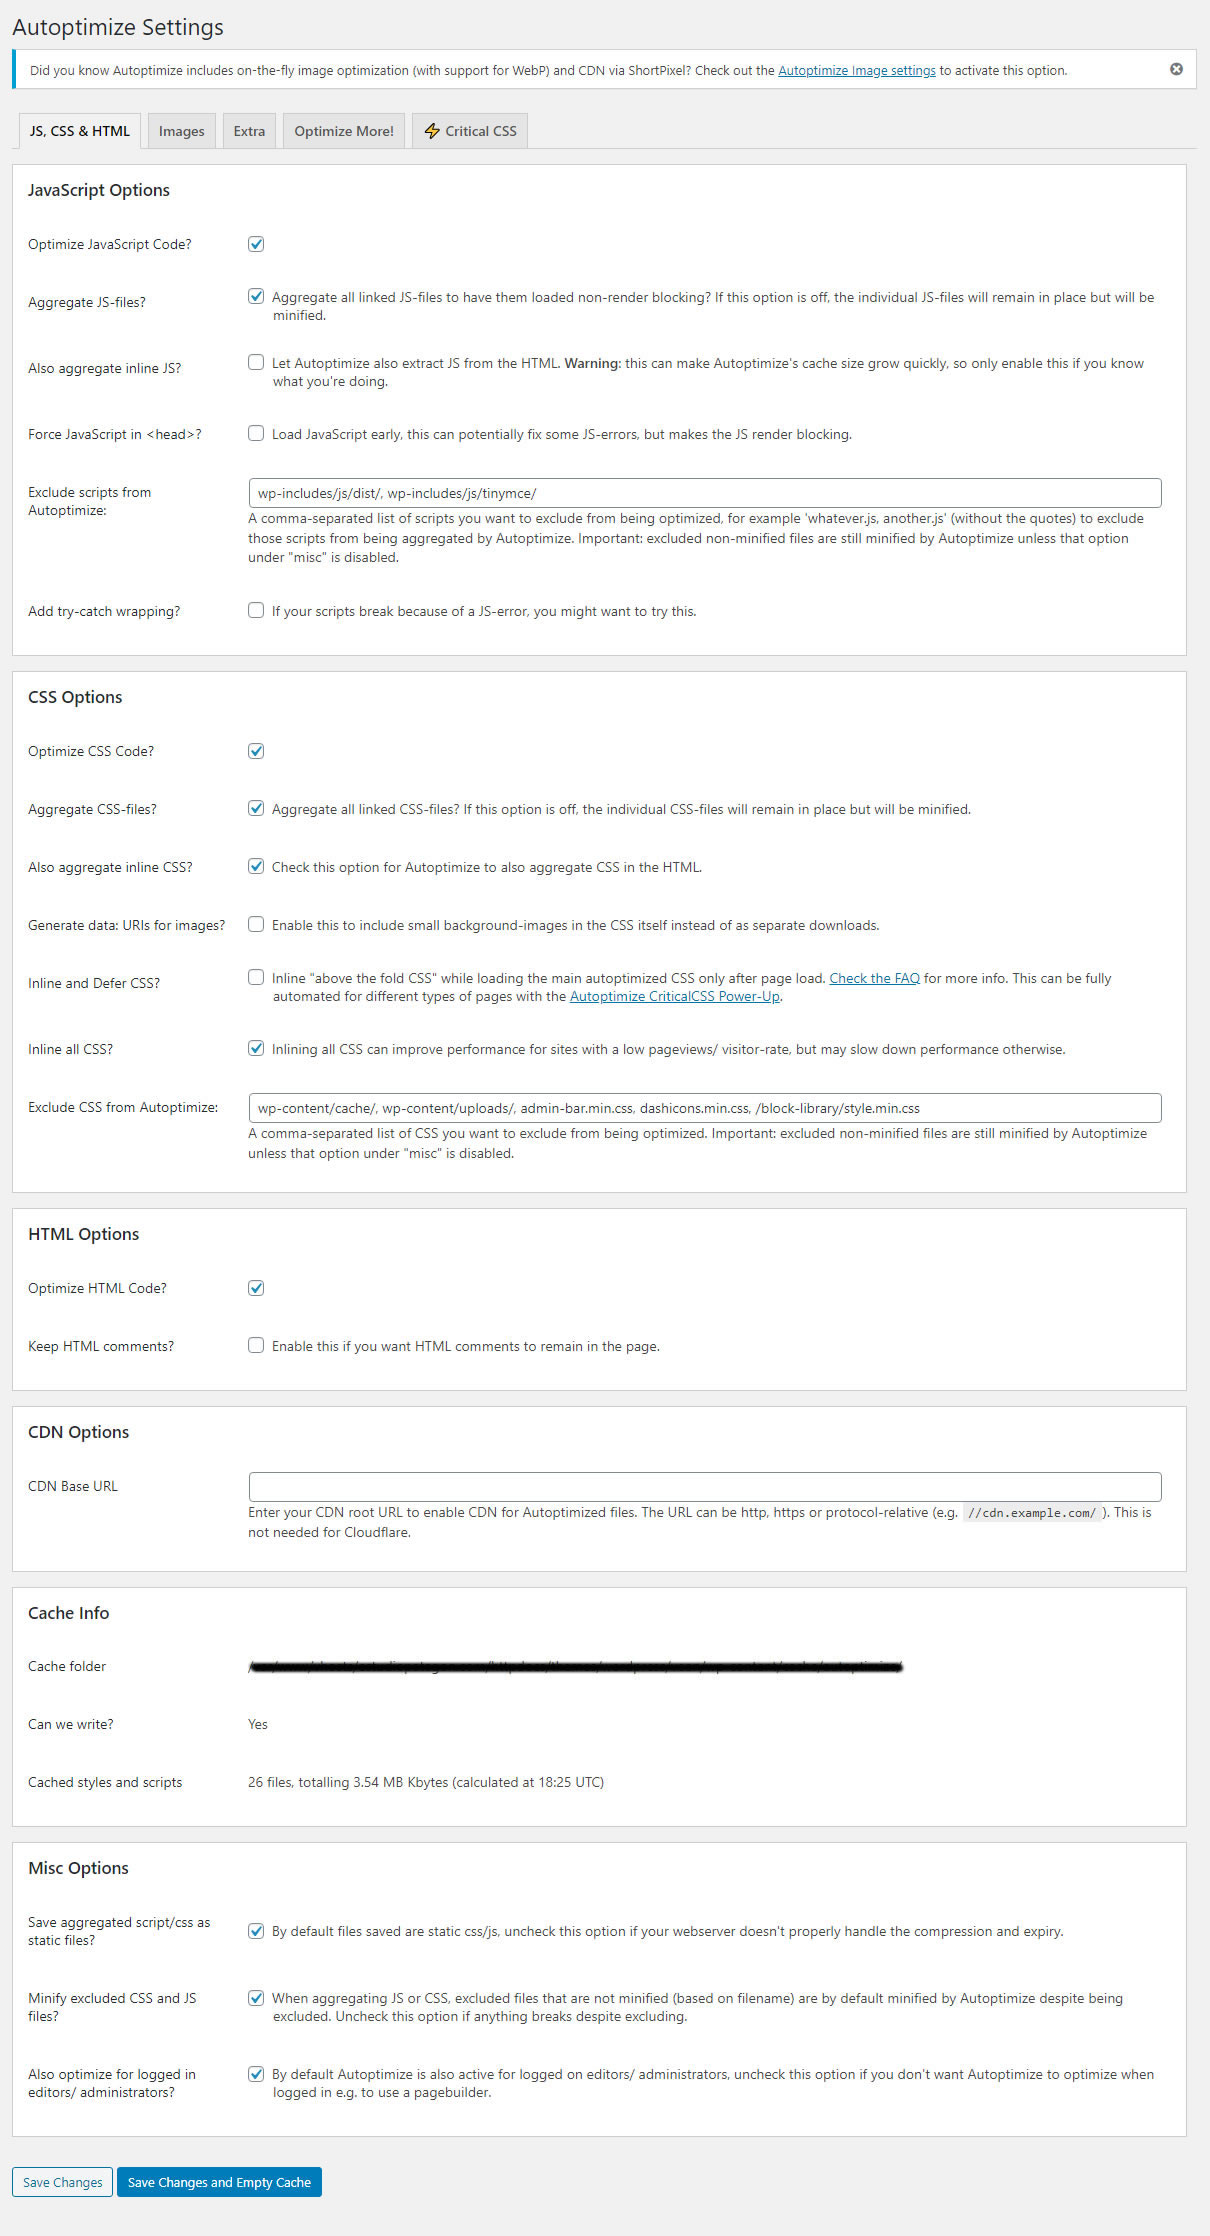
Optional: On the “Extra” tab, you can remove Emojis if you don’t need them (that will reduce some JavaScript and CSS requests).
Installing W3 Total Cache (optional) #
As you know there are a lot of cache plugins available for WordPress, but we will recommend you W3 Total Cache in this case, this plugin has a good sort of options, and you can import a config file easily.
- Go to plugins section
- Click Add new
- Search for W3 Total Cache and install it
- After activating it, you will see a new section Performance on your left sidebar.
- Click on Performance ⇒ General Settings and go to the bottom of that page.
- You will see an import/export section, just click on Select File and search for w3-total-cache-config.json (this file is located on Demo Content folder after you unzip the full template from Themeforest)

- Finally, you must enable theme optimization options.
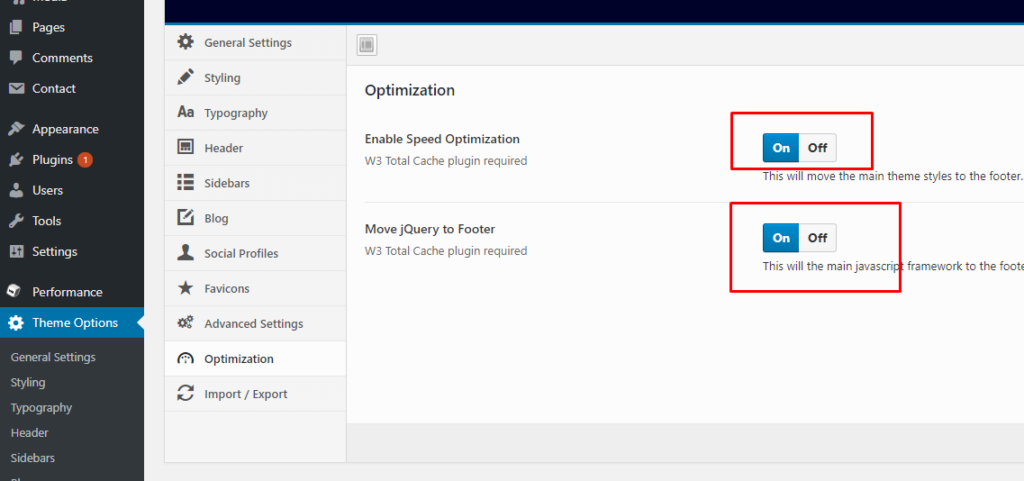
IMPORTANT: if you have any error on the JavaScript console, you must disable jQuery move to Footer option.


